
Trnio Tutorial: High Quality Scans of Small Objects
This tutorial will explain the necessary steps in order to capture high quality scans for smaller objects. Scanning small objects often requires more attention to detail to ensure that the entire dataset provided is useful and accurate.
When creating a 3D scan with Trnio, the more effort you put into the scanning process, the better your 3D models will turn out to be. These steps you can take before, during and after your scanning process will only take a matter of minutes and make a world of difference!
Remember that preparation is key! Here is an outline of what this tutorial covers:
Considering Your Device
Lighting
Choosing Your Object
Planning Your Path
Framing Your Object
Post Processing
1.Considering Your Device
It is very important to understand the capabilities of your specific device so that you can utilize it in the correct way for your 3D scan. Here, we have laid out the best practices for each type of device including iPhones with a telephoto lens, iPhones without a telephoto lens, as well as DSLR cameras with various zoom capabilities.
The telephoto lenses on some iPhones allow for optical zoom, which means that the lenses change and the resolution is able to stay the same. iPhones without the telephoto lens rely on digital zoom, which uses the same lens to zoom in, decreasing the resolution. This means that photos using digital zoom can sometimes produce more noise and artifacts in your scan.
Here are two photos of a succulent taken at 2.5x zoom, the first with an iPhone 12 Pro and the other with an iPhone XS:

Here you can clearly see the difference between the two - the photo taken with the iPhone 12 Pro telephoto lens is much sharper. However, we do realize that not everyone will have access to these devices. Here are the best practices we have found while taking photos for import into Trnio by device:
iPhones 12 Pro, 12 Pro Max, 13 Pro, 13 Pro Max: Set telephoto lens to 2-2.5x zoom. Fill the screen with your object. You can expect to be able to capture objects 3cm tall or larger.
Other iPhones: Set zoom to 1x and get close until your object starts to blur. Digitally zoom in until the object fills your screen. You can expect to be able to capture objects 5cm tall or larger. Lighting has a huge impact on the noise on these devices. See more below on best lighting practices.
DSLR Camera: Set focal length (optical zoom) to 50mm or higher, and get close until the object fills the screen. Make sure the entire object is in focus. You can expect to be able to capture objects 5cm tall for a 50mm focal length, or about 0.5cm tall for a 300mm focal length.
No matter what device you are using, it is critical to have your objects in focus! This is important because the sharpness and colors that are in your photos will directly translate to the sharpness and colors that are in your scan textures. If your photos are blurry and low quality, the scan will be as well.
2. Lighting
It is critical to make sure you have absolutely even lighting when capturing photos for a 3D scan. For the best results, check that your lighting is as bright as possible without creating any harsh shadows. This setting can best be created in a space with controlled lighting, such as a light box, or ideal outdoor lighting, such as on a cloudy day or right before the sun sets.
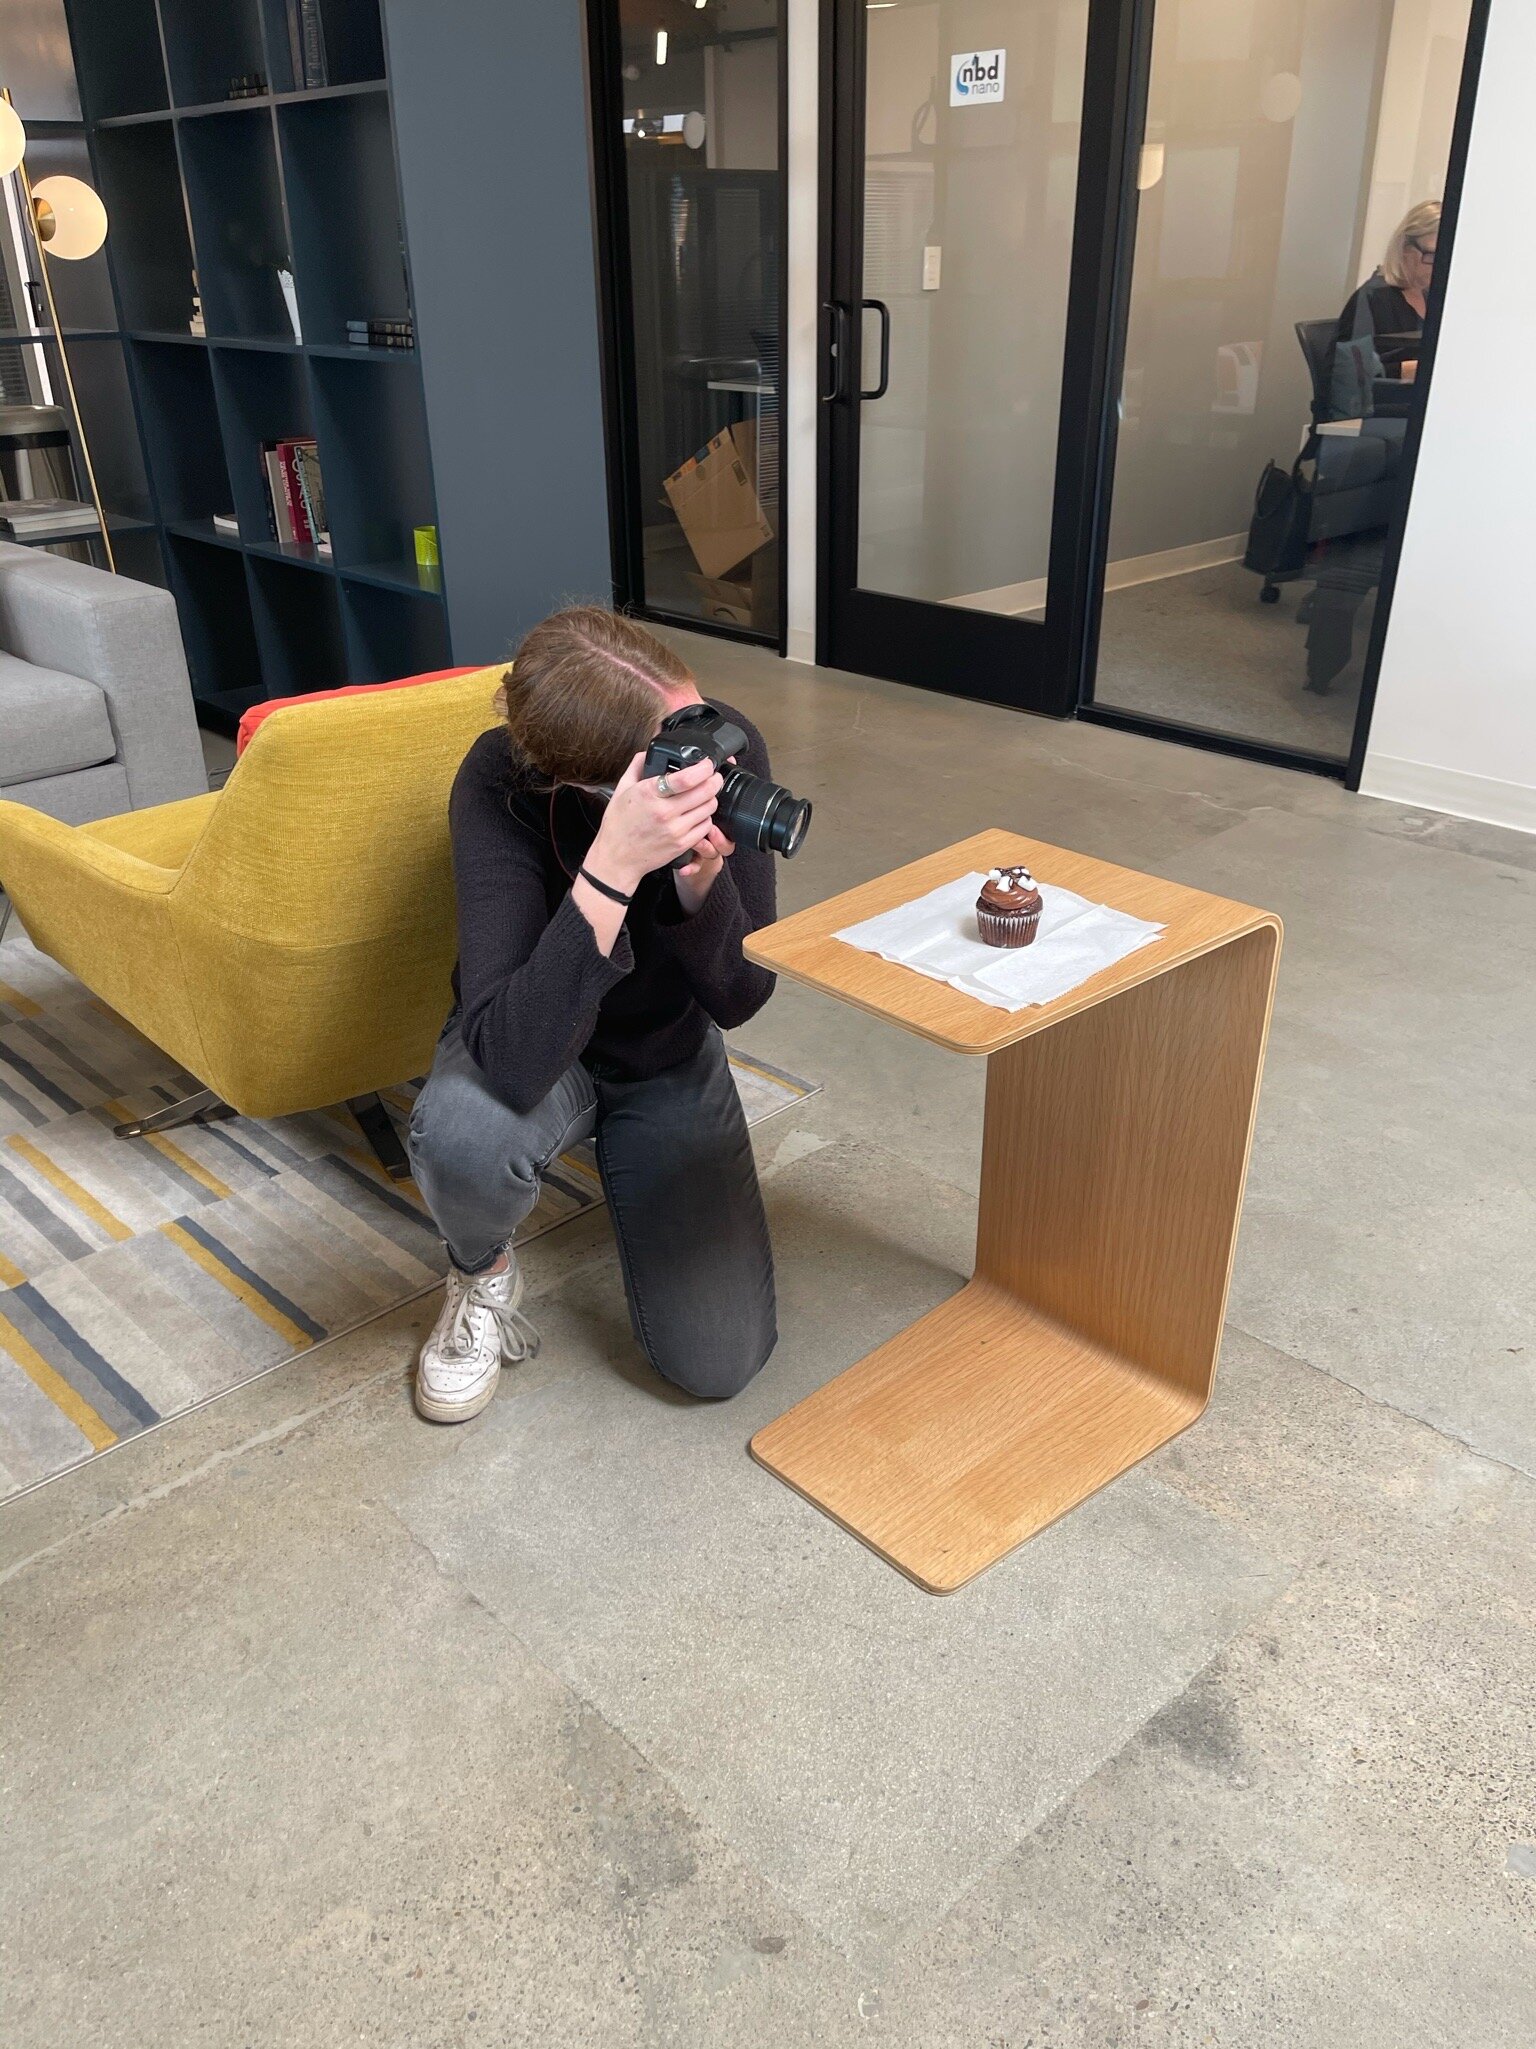
Here is a picture of the lighting in the room where we scanned the cupcake above:

With bad lighting, you run the risk of having a low quality scan with more noise, gaps or artifacts. Harsh shadows, uneven lighting, and low lighting can create these problems.
3. Choosing Your Object
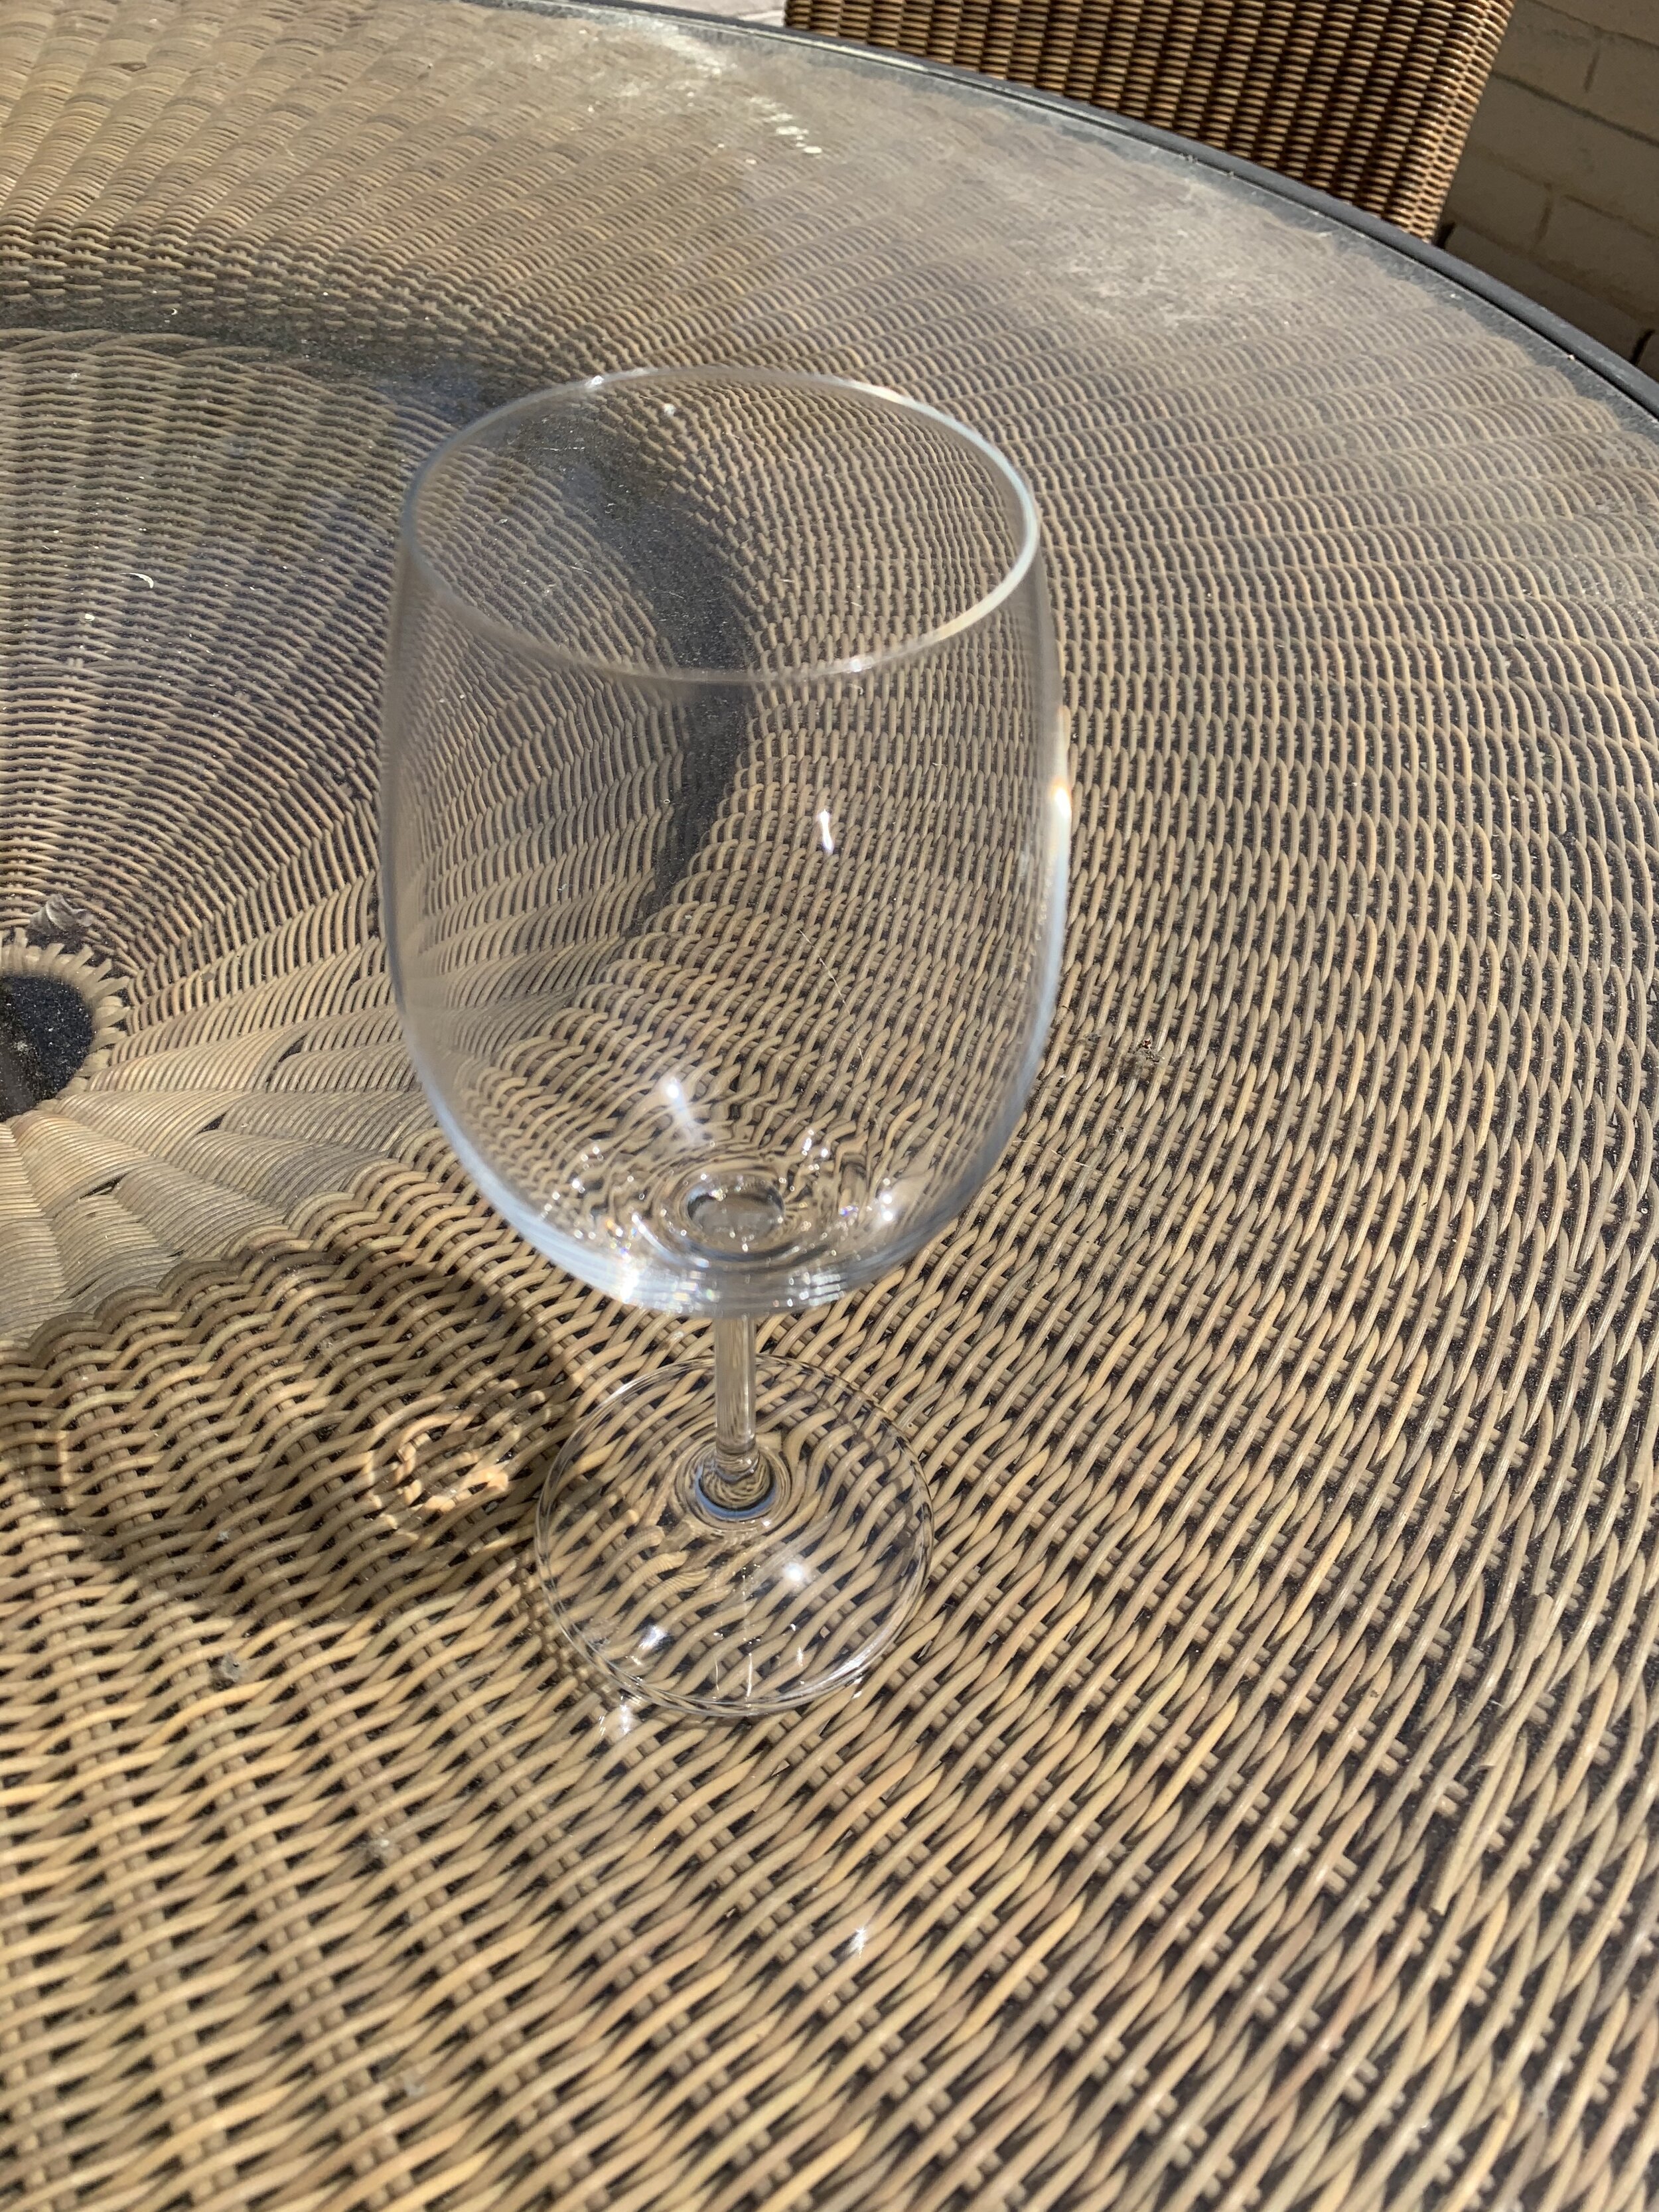
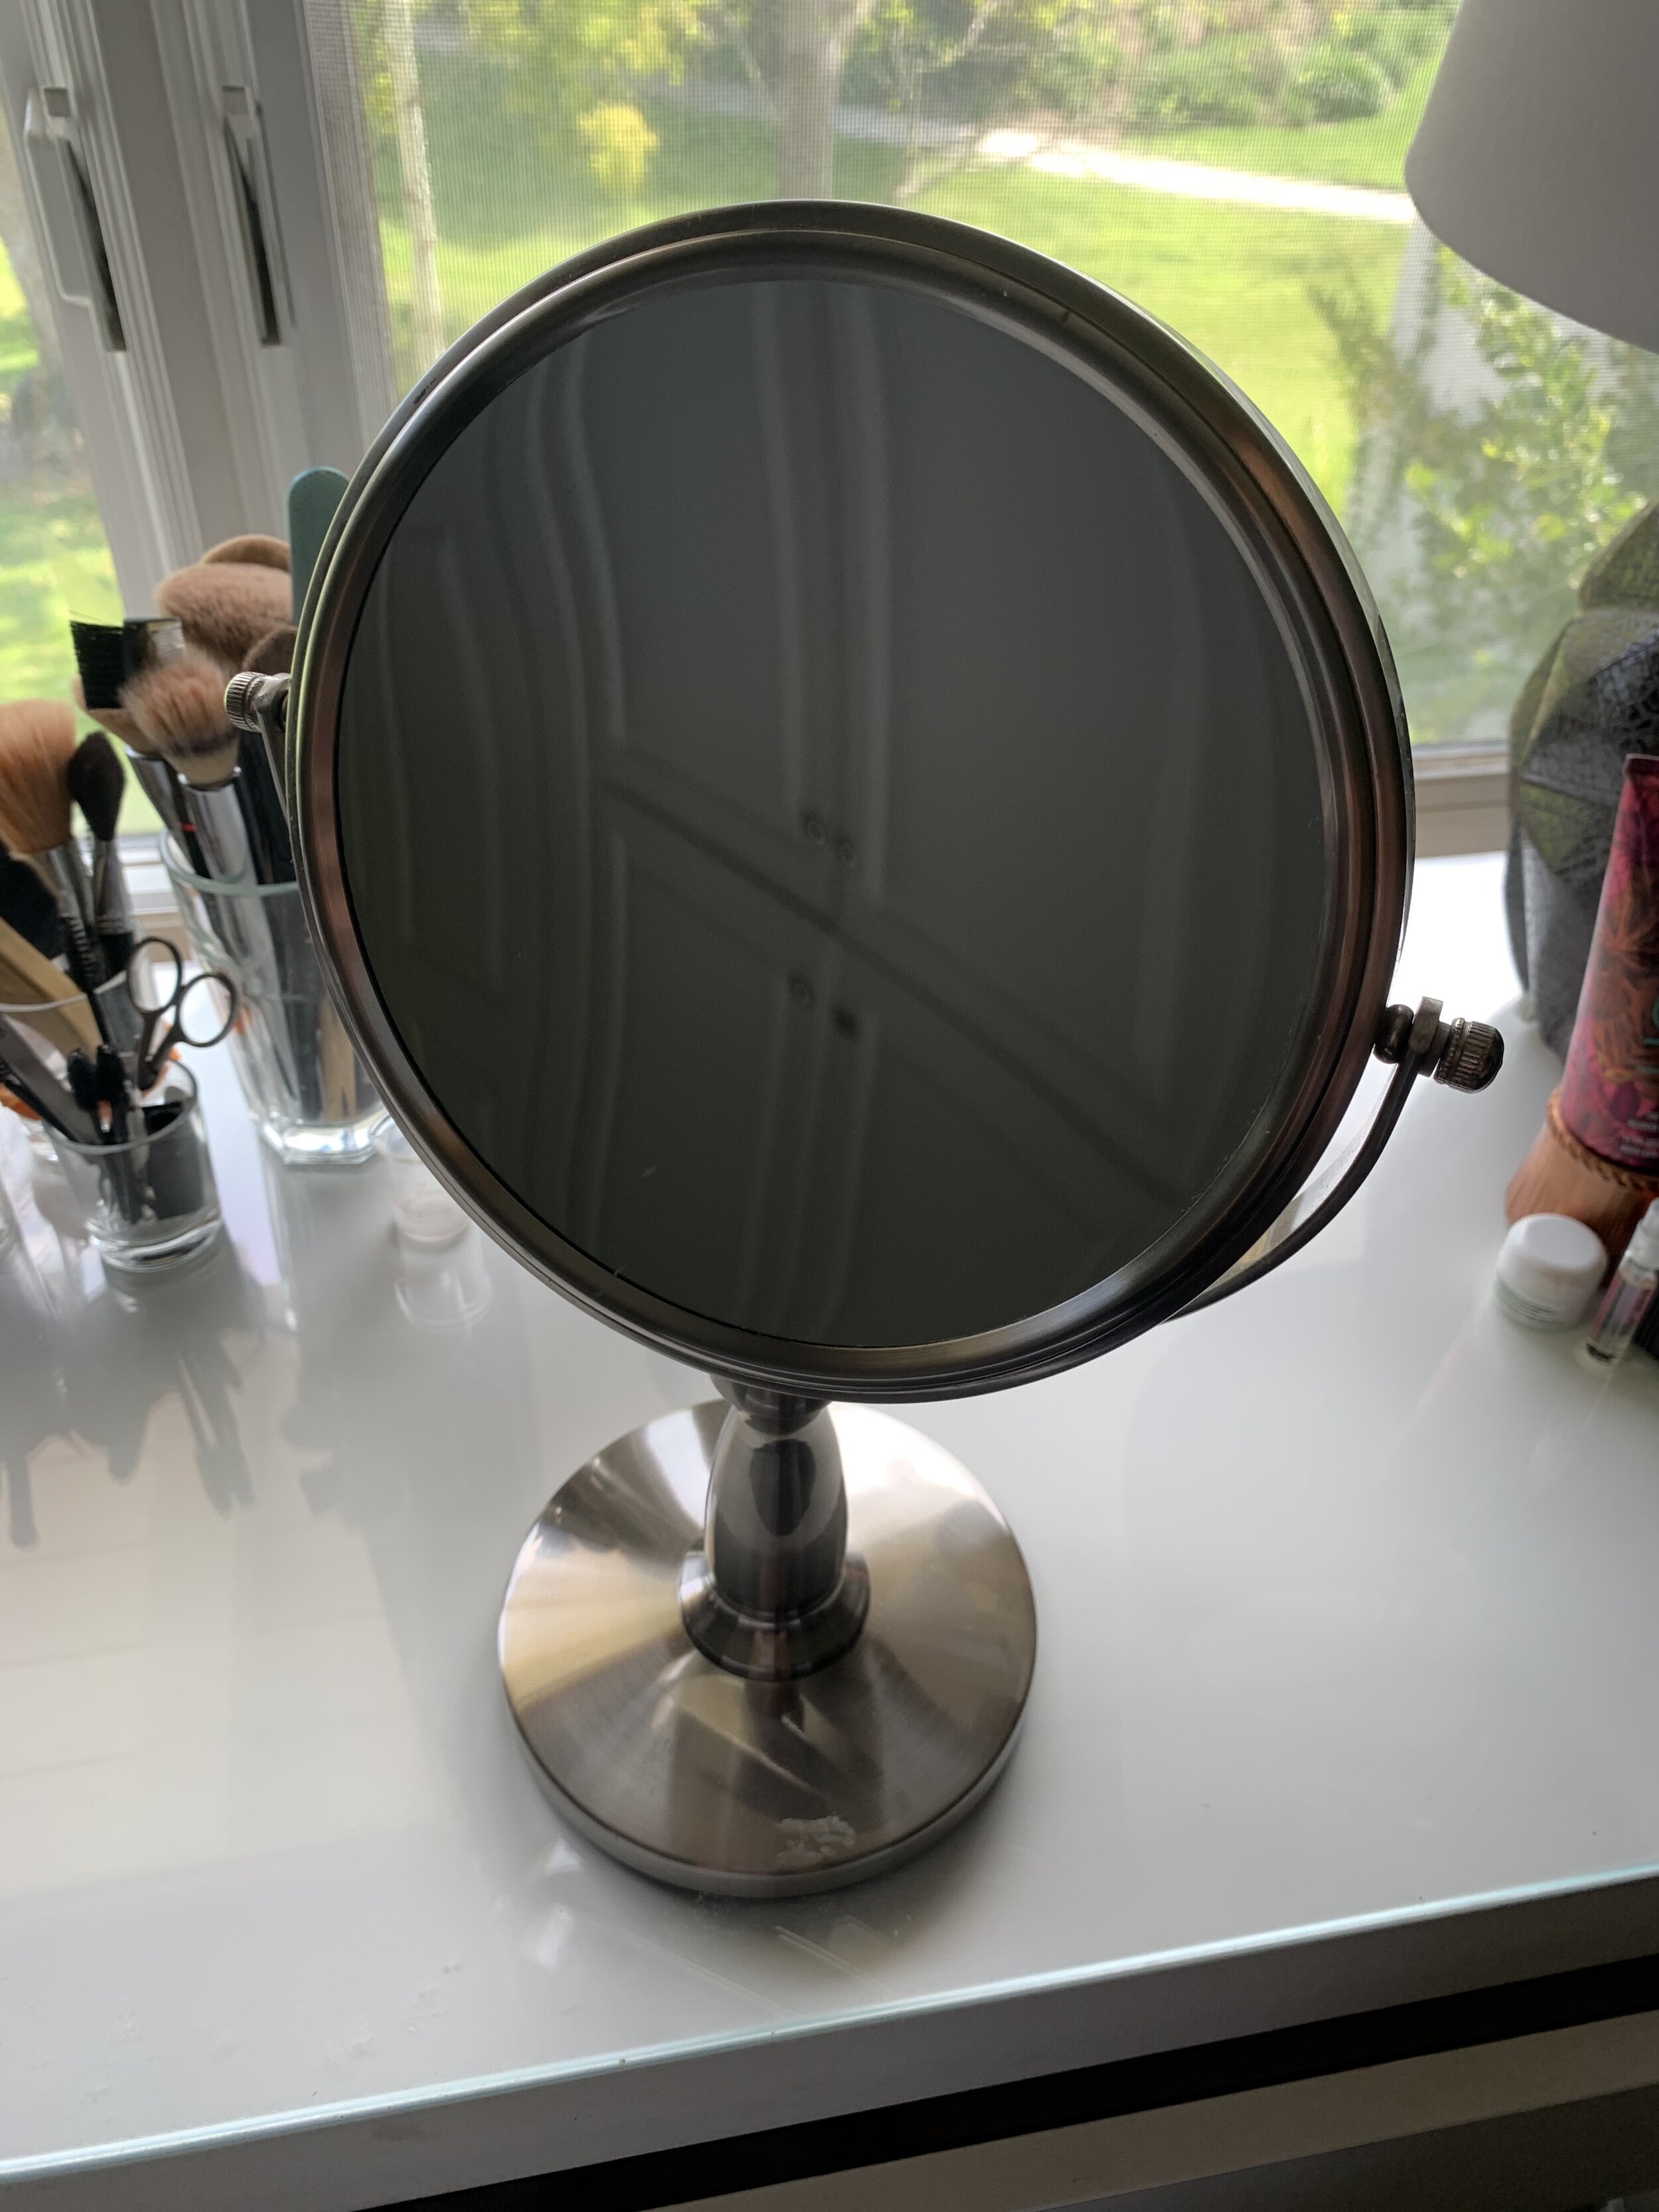
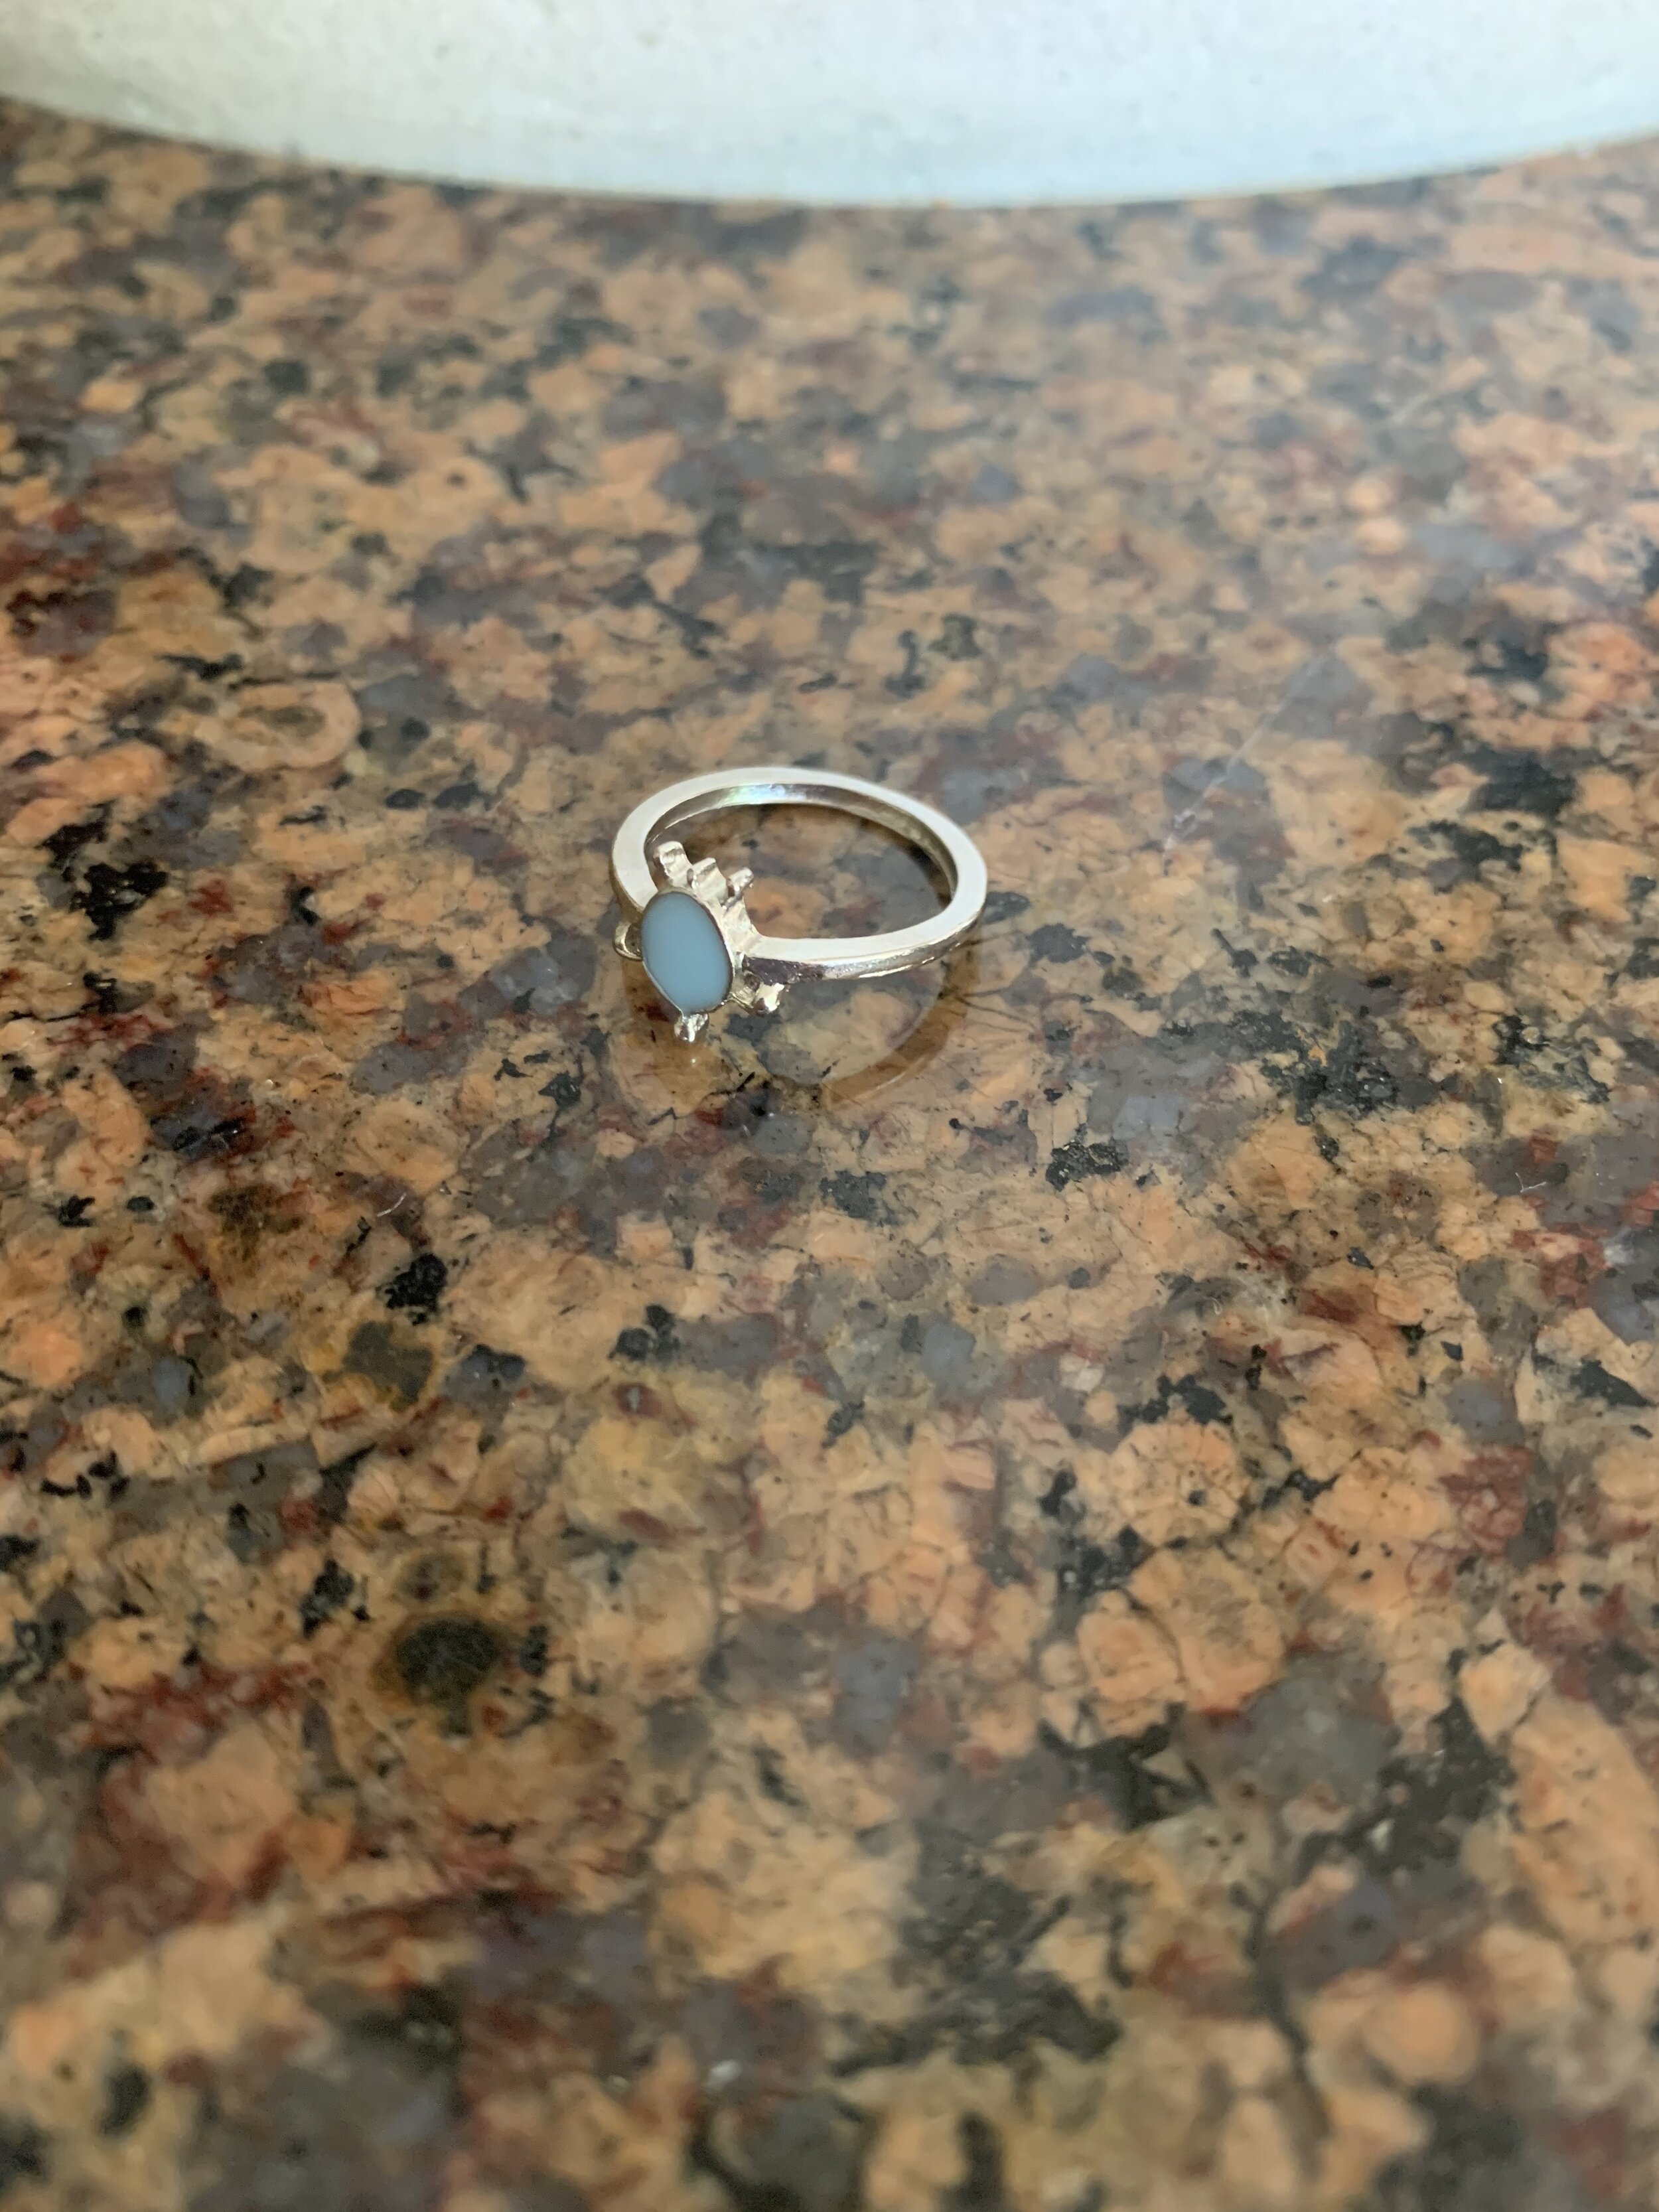
Make sure to consider the object you are scanning before you start the photo-taking process, as some objects scan much better than others. First off, there should be no reflective or shiny surfaces - this light reflection can distort the scan, especially if the lighting conditions are not controlled. The distortion in scans of objects like this will look like small holes in the scan, or even entire portions of the scan being missing. This happens because photogrammetry technology cannot determine the correct placing of these photos in order to piece them together in a 3D model.
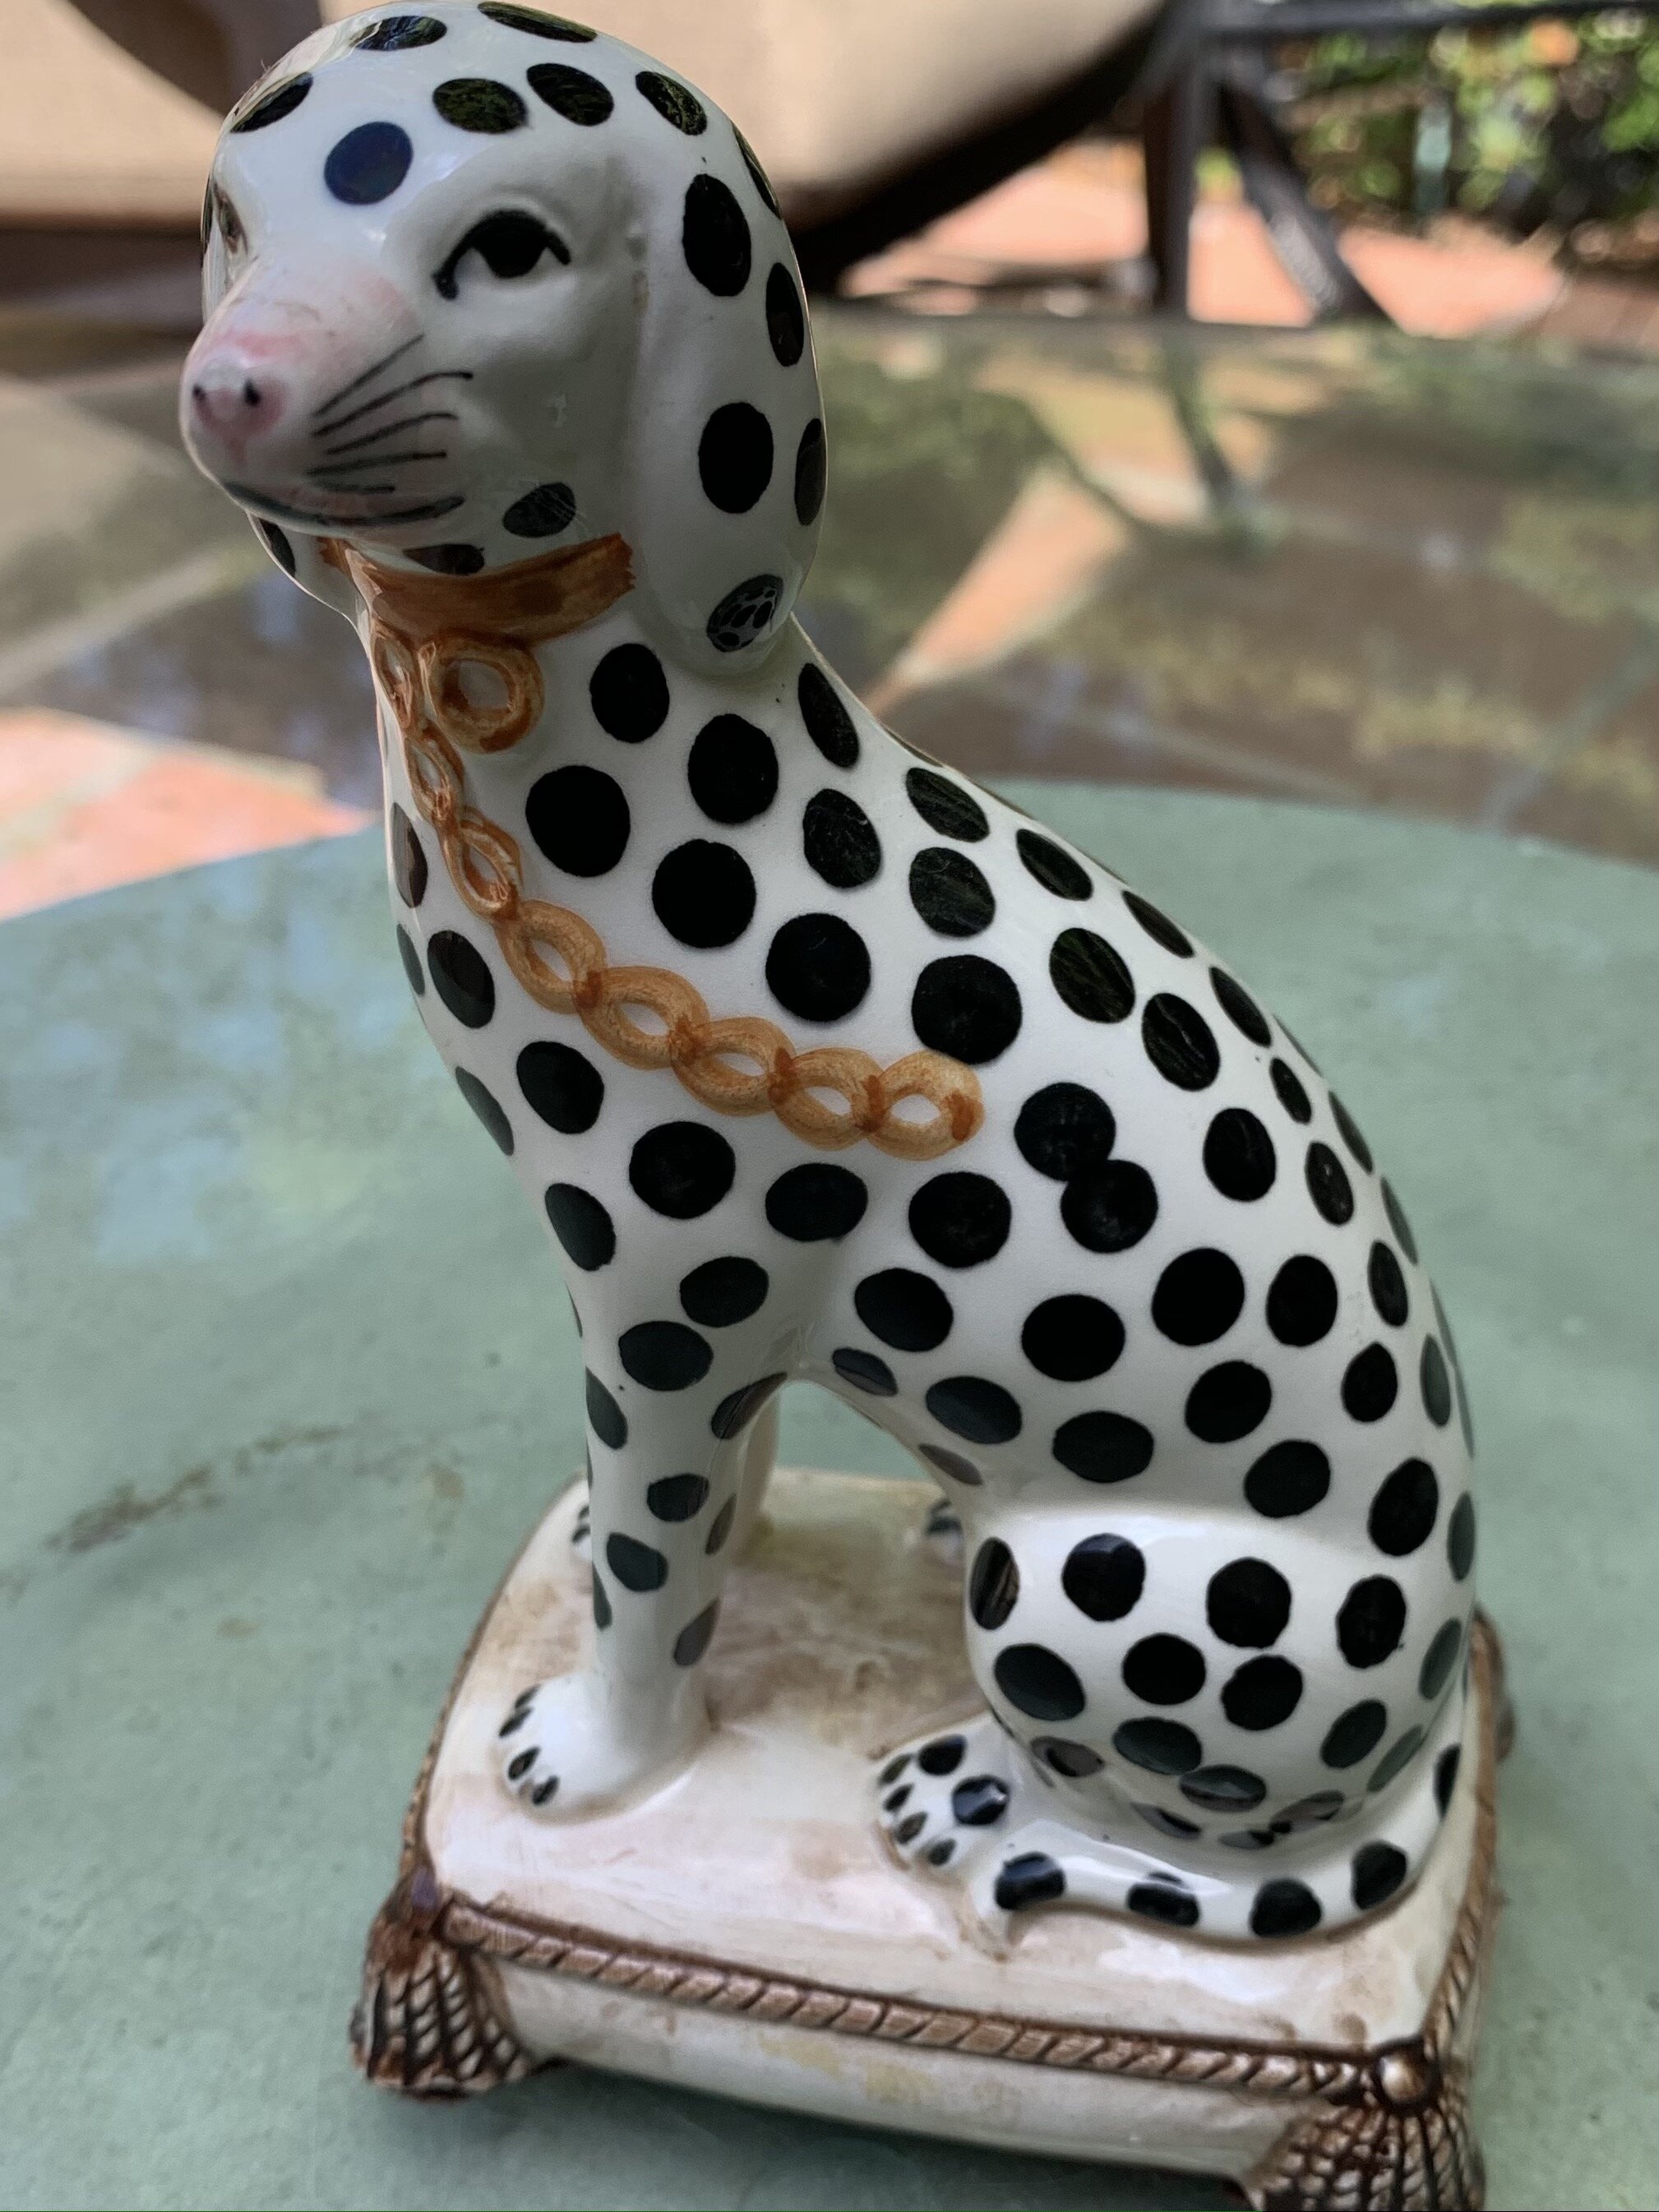
It is best to scan objects with lots of detail if possible. The more detail on your object, the more accurately we can place the photos together to create the perfect scan. This also applies to the surface that your object is placed on when scanning. You want to ensure that you are not scanning on any tables with reflective surfaces, such as glass or white plastic. If this is the case, try putting a placemat or magazine underneath your object when scanning to create as much contrast in your photos as possible. We have found this to be a great solution!
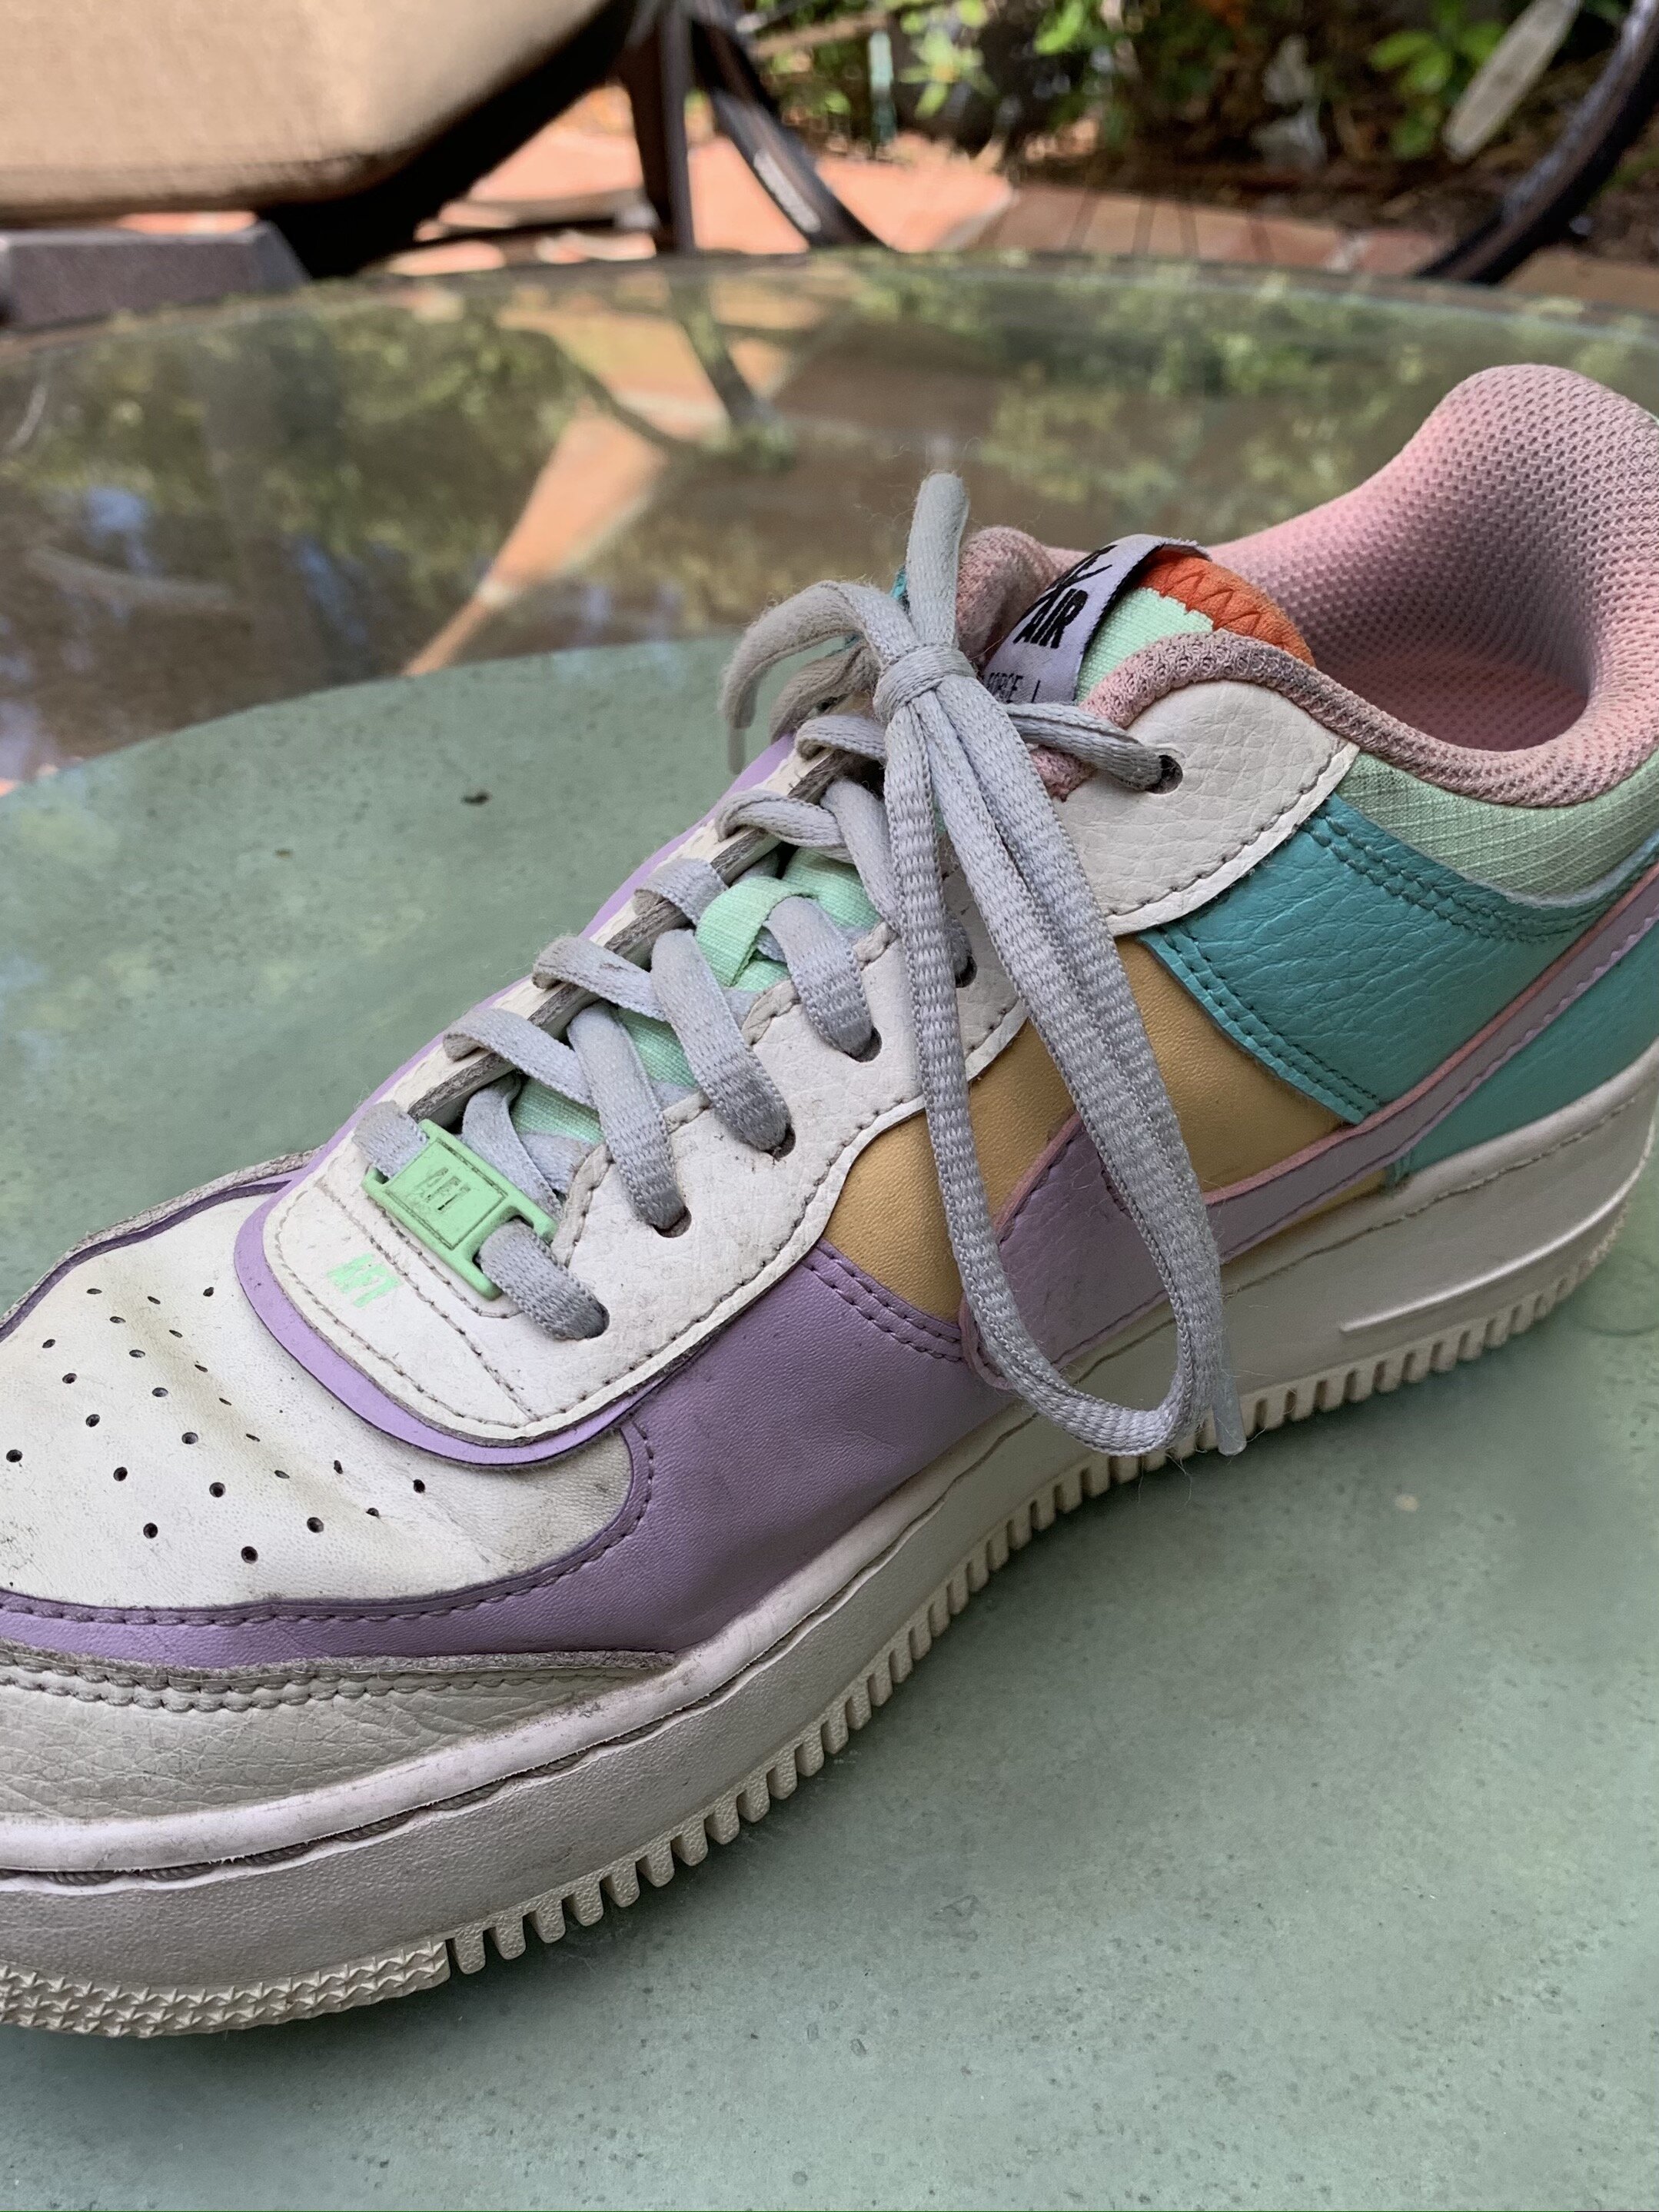
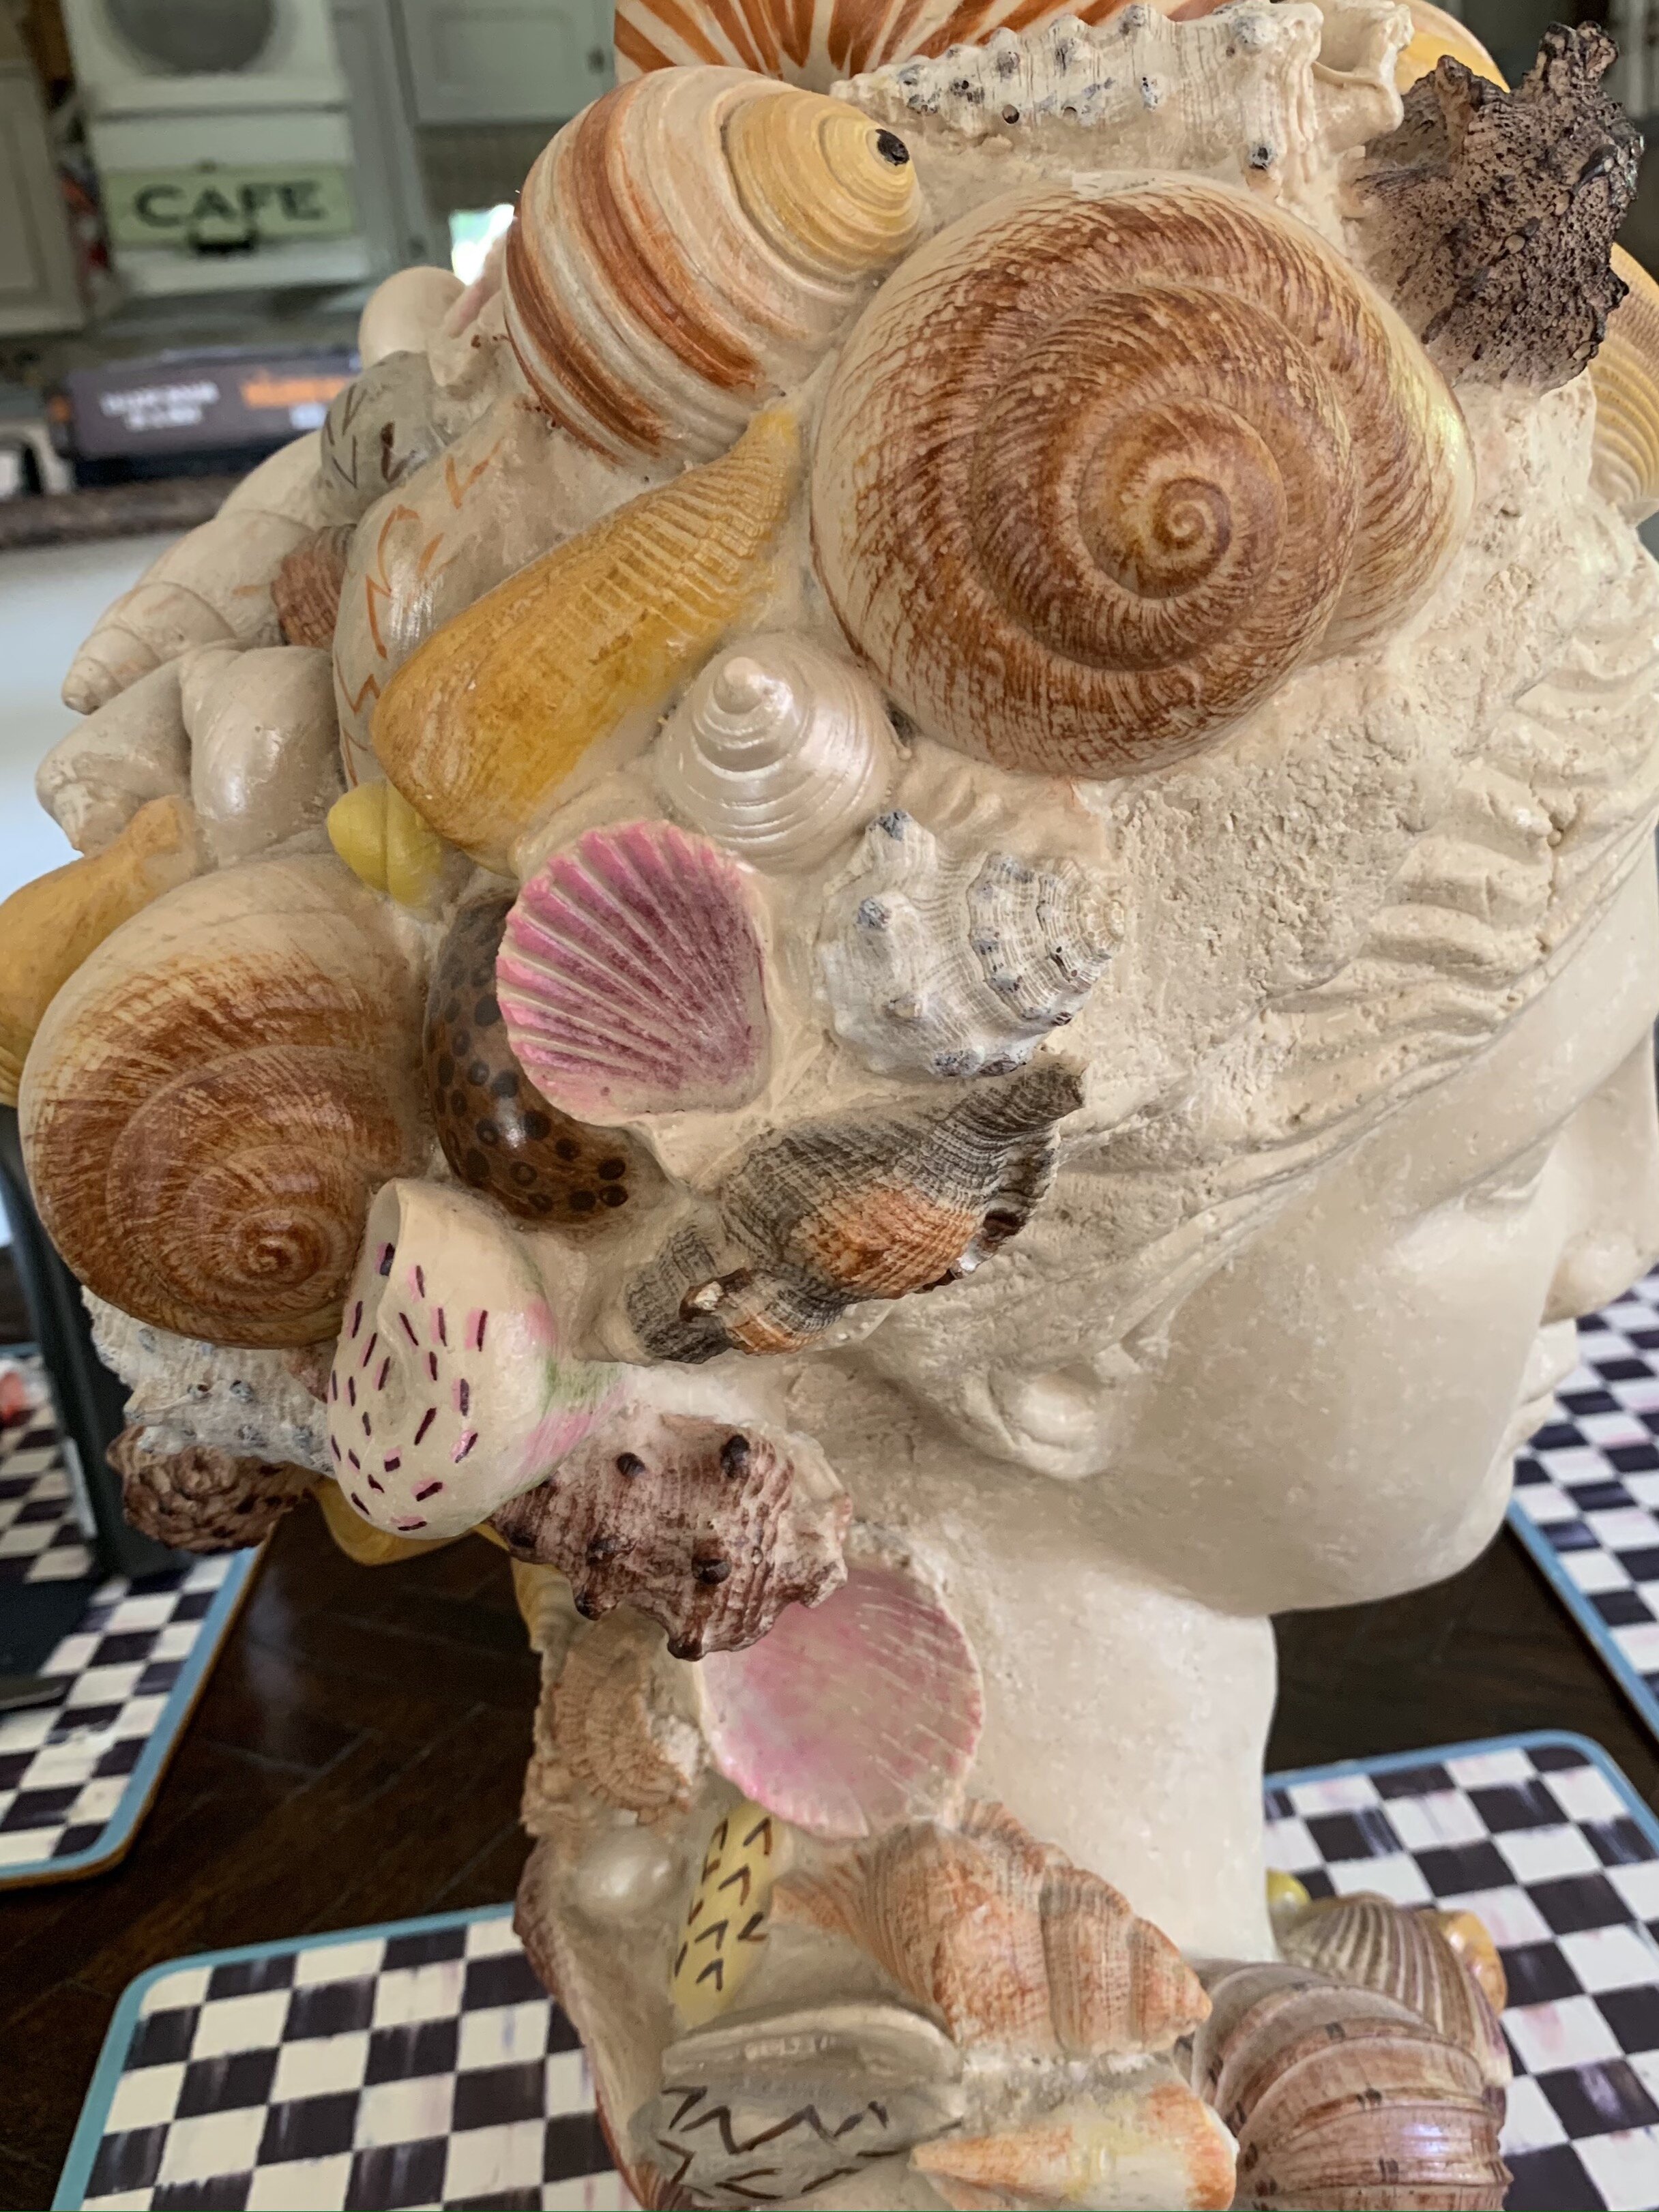
BAD Examples of Objects to Scan:
GOOD Examples of Objects to Scan:
4. Planning Your Path
Planning the path that you will walk around your object while taking photos is another one of the things that you can do to set yourself up for success. This step is important to ensure that you can have a clean 360 degree path from which you can capture your object. If you do not plan this ahead of time, you may realize that there is something in the way of capturing your object from all angles, and you’ll have to reposition your object and start over. Taking the time to plan your path will ultimately save you time in the long run and improve the quality and accuracy of your scan.
In the case of the cupcake, we positioned it on a small table in the middle of the room, making sure it, again, had even lighting and plenty of space to walk around. Here is a photo of our setup:
Try to take a photo of your object about every 6 degrees while walking around it. This will give you 60 photos to import. Since Trnio allows up to 100 photos for import, you can use the 40 remaining photos to capture different angles or zoom in for more detail.
5. Framing Your Object
Another tip for capturing a perfect scan is to make sure that the object you are scanning fills up the entire frame of the photo. This is important because you ideally want to capture as little of the background as possible. When there is extra space at the top, bottom or sides of the photo, whatever fills up that extra space will be processed in the scan as well. This can create more noise in the final version of the model. (Note: It does not matter whether the photos you take are in portrait or landscape orientation, as long as the entire frame is filled up with your object. This means that different objects could require different photo orientations for the best possible scan outcome.)
Here are a few examples of the photos taken and imported for the cupcake model:


You can see that we have zoomed in on the cupcake in order to capture as little of the background as possible.
Keep in mind that if your object only fills half the screen, we are only capturing a quarter of the resolution in the photos we process for your scan. This means that zooming in on parts of your object with lots of detail can be very beneficial. After you walk around your scan taking photos every 6 degrees, you will have about 40 photos left to zoom in and provide that extra detail!
6. Post Processing
After you have taken your photos, imported them into Trnio, and received your model back, you can clean it up with some post processing. Our favorite tools to use are Meshmixer and Sketchfab.
Meshmixer can be used to remove any extra noise from your model and give it a solid base. Check out some of our YouTube tutorials on Meshmixer editing:
Sketchfab can be used to make your scan more presentable by editing the sharpness, shadows, adding a background color, and more. Check out our YouTube tutorial on Sketchfab editing: